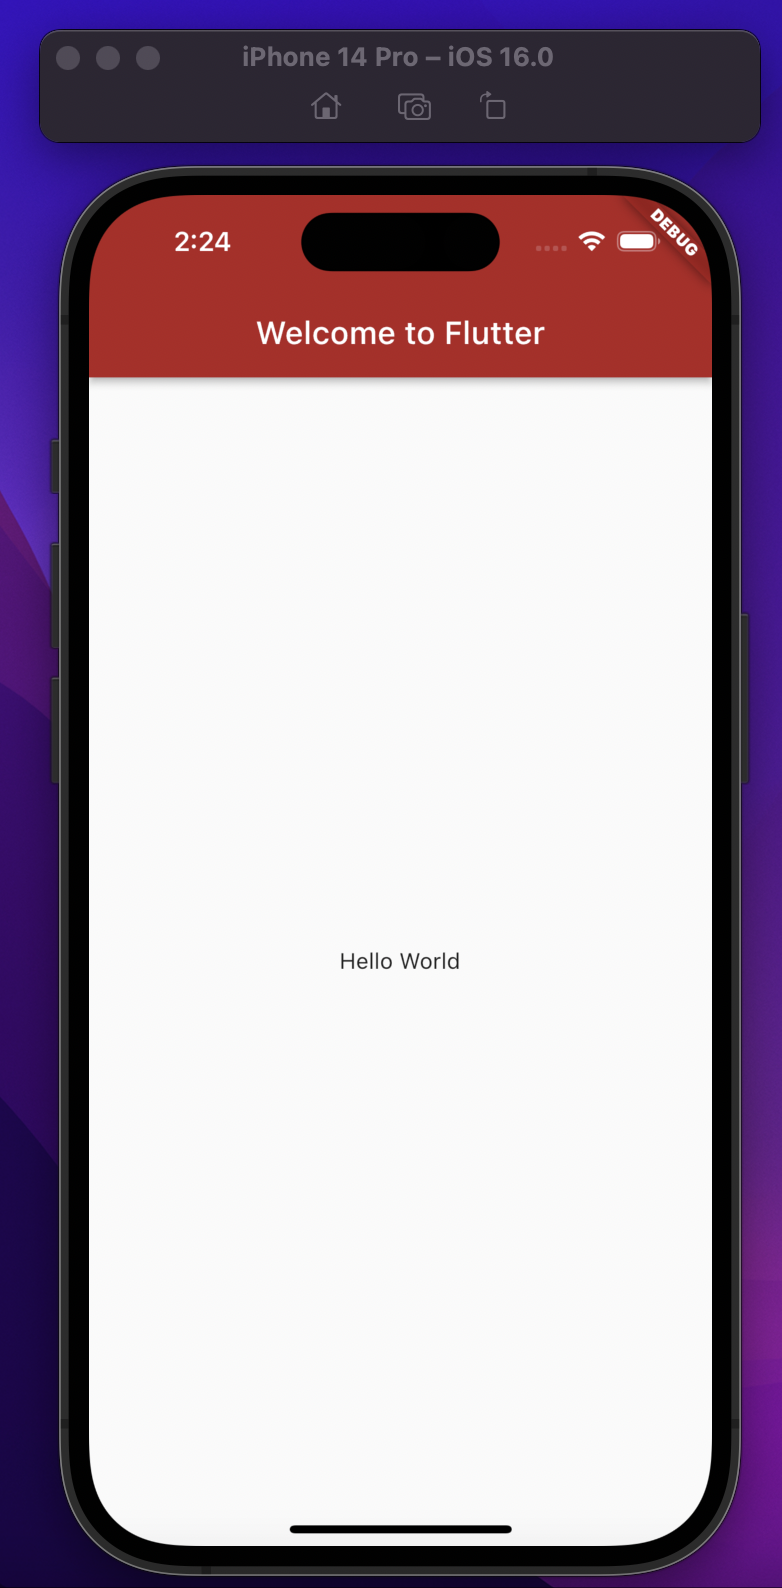
hello world
import 'package:flutter/material.dart';

void main() => runApp(MyApp());

class MyApp extends StatelessWidget {
  @override
  Widget build(BuildContext context) {
    return MaterialApp(
      title: 'Welcome to Flutter',
      home: Scaffold(
        appBar: AppBar(
          title: Text('Welcome to Flutter'),
        ),
        body: Center(
          child: Text('Hello World'),
        ),
      ),
    );
  }
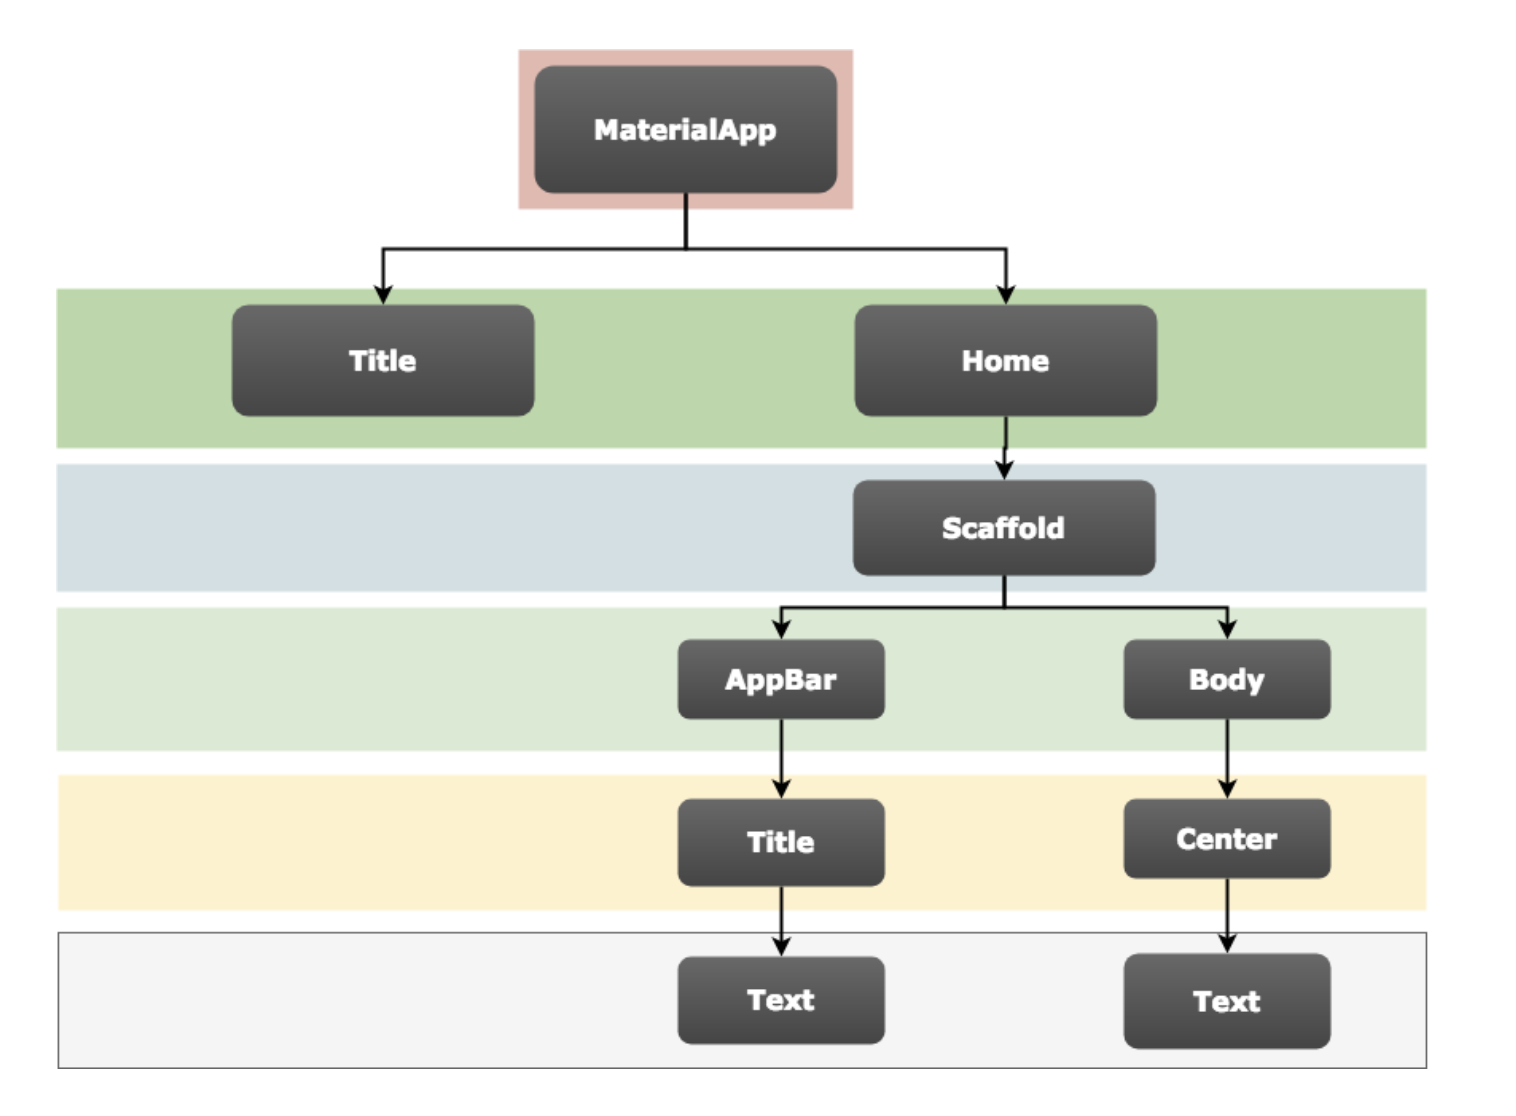
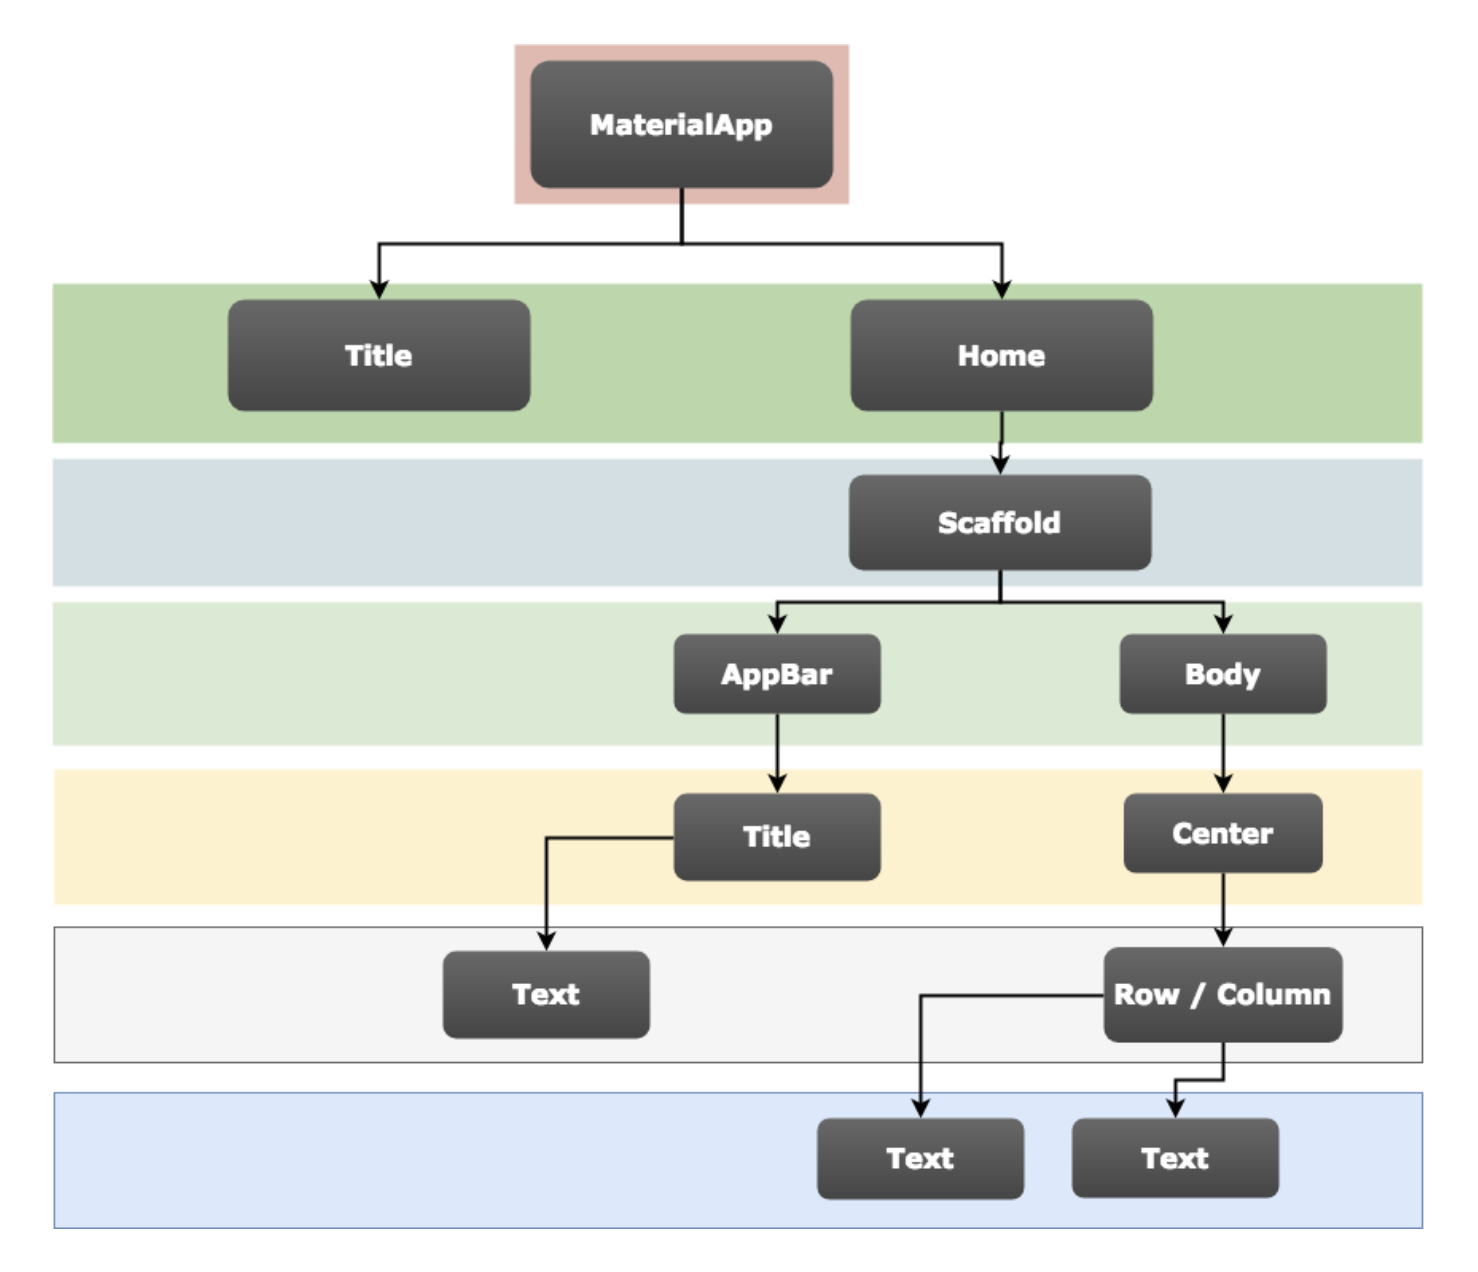
위의 코드의 구조를 보면 아래의 구조와 같습니다.

색상 코드 작성 방법
색상을 바꾸는 코드 코드 색상표 구글에 검색하면 헥스 코드가 나온다.
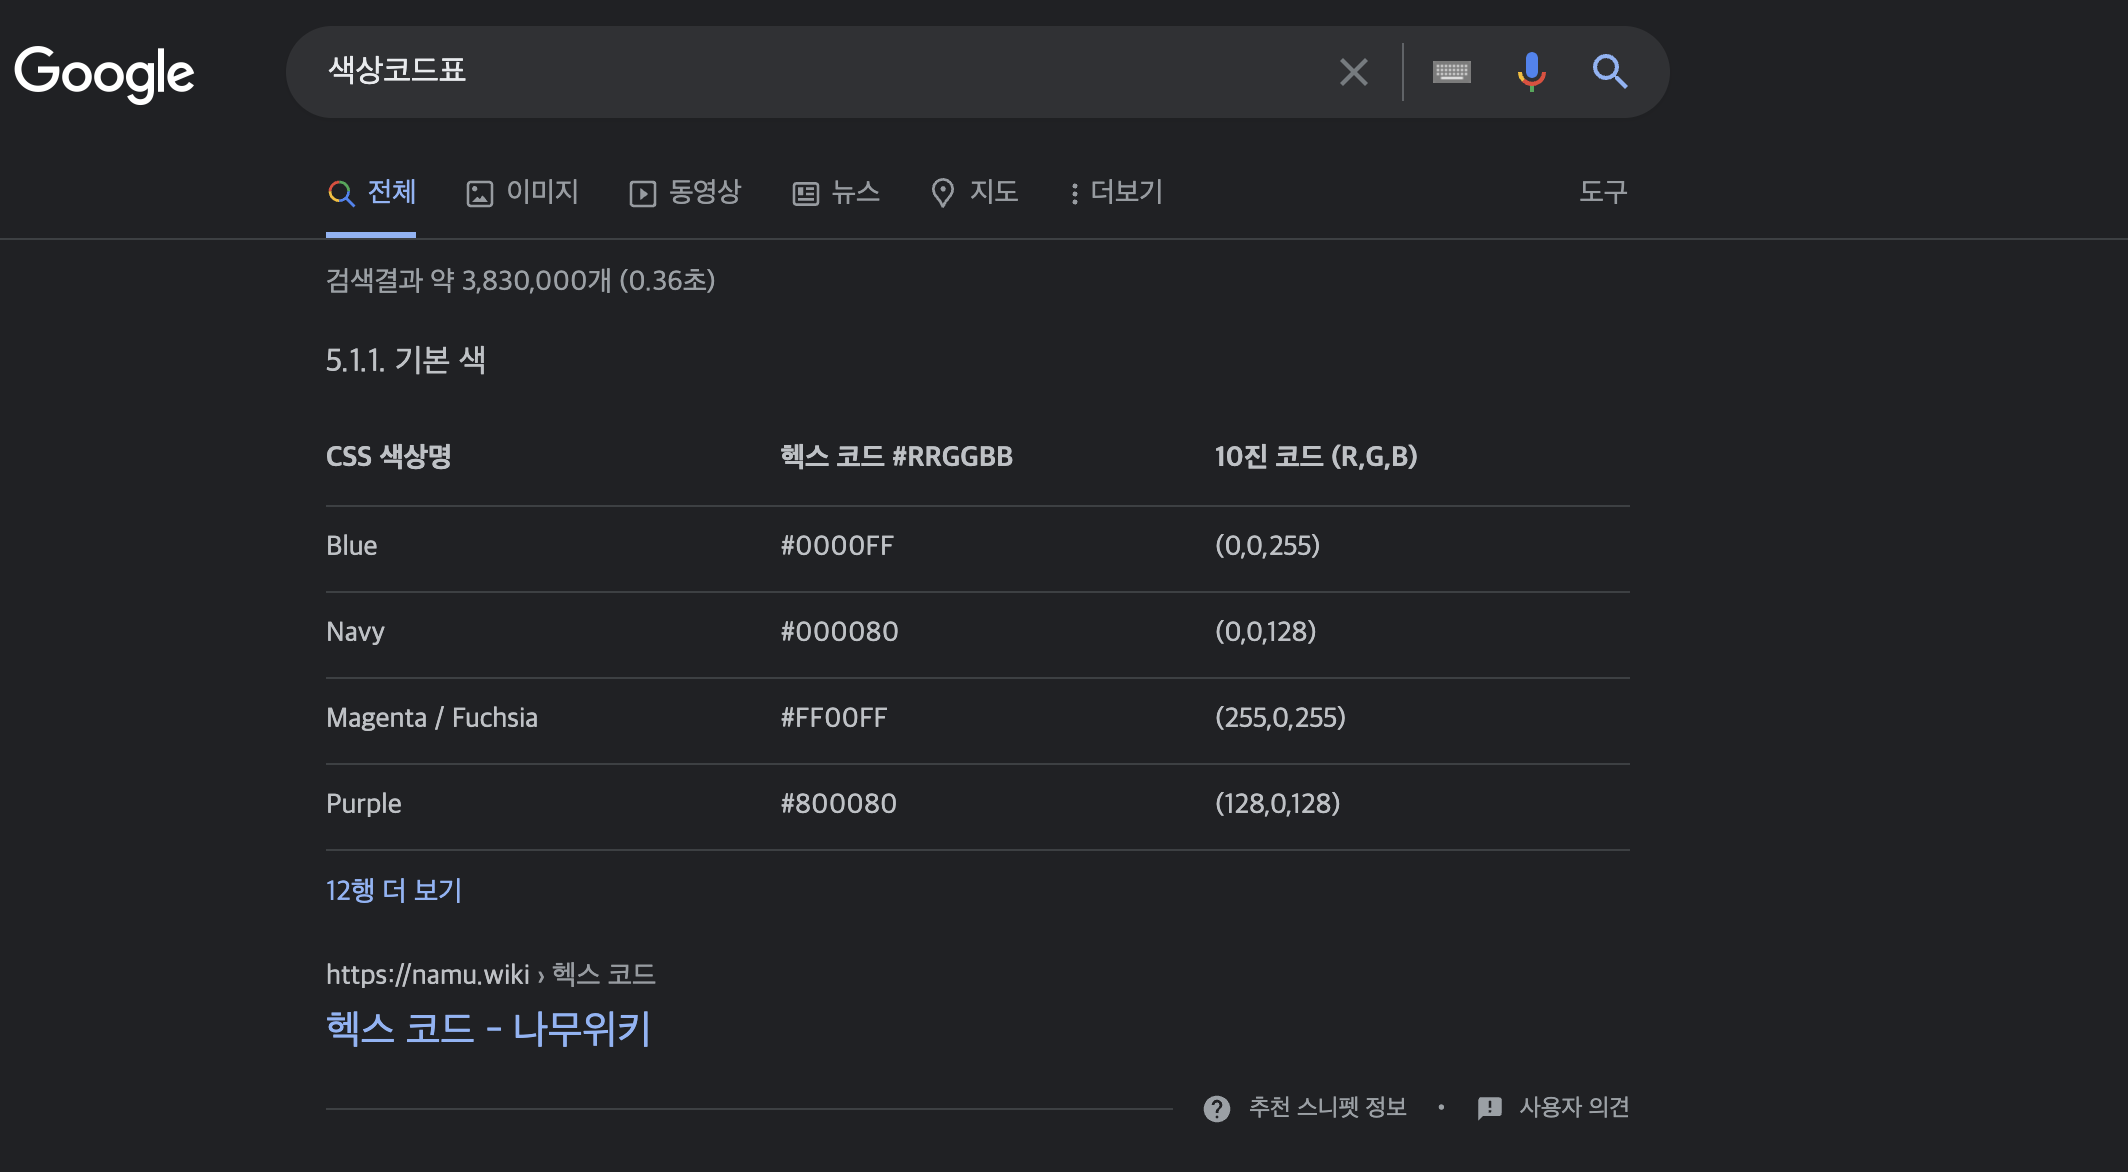
Dart에서 색상을 입힐 때 0xFF작성하고 헥스 코드 # 뒤에부터 나머지를 작성하면 된다.
backgroundColor: Color(0xFFB22222),//Color(0xFF00FF00),//Color(0xFFFFBC00),//Color(0xFFFF0500), //Color(0xFF0034FF),
Text 위젯
Text위젯에는 항상 String이 따라오므로 다른 데이터 타입이 들어오면 안 된다.
title: Text('Welcome to Flutter'),
아래의 코드를 작성하면 Text 위젯 안에 Integer 타입이 들어가 있어 오류가 난다.
void main() {
  runApp(MyApp());
}

class MyApp extends StatelessWidget {
  @override
  Widget build(BuildContext context) {
    return MaterialApp(
      home: Scaffold(
       body: Text(01234567)
      ),
    );
  }
}
Flutter의 Widget은 SPA의 컴포넌트 개념과 유사하다고 표현할 수 있습니다.
화면의 틀, 가운데 정렬을 위한 Center, 여백을 위한 Padding, 그리고 텍스트 삽입을 위한 Text 등 모두가 Widget이라고 이해하면 됩니다.
MaterialApp
MaterialApp은 구글 스타일의 디자인 틀을 제공하는 위젯입니다.
MaterialApp을 사용하기 위해서는 아래의 코드를 import해주어야합니다.
import 'package:flutter/material.dart';
CupertinoApp
CupertinoApp 애플 스타일의 디자인 틀을 제공하는 위젯입니다.
CupertinoApp을 사용하기 위해서는 아래의 코드를 import 해주어야 합니다.
import 'package:flutter/cupertino.dart';
Container 위젯
Container 위젯은 화면의 요소들을 담고 있는 하나의 박스로 비유할 수 있습니다.
width, height, color 등의 속성을 이용하여 박스의 크기와 색상을 설정할 수 있고, 내부에 여러 위젯들을 활용하여 내용을 구성하면 됩니다.
child
Material Design에서 body는 오로지 하나의 위젯만을 가집니다. 여러 가지 위젯을 내부에 포함시키기 위해서는, 위젯들의 배열을 내부에 가질 수 있는 타입의 위젯을 body의 child로 설정하는 것이 필요합니다. Flutter에서 위젯의 배열을 child로 가질 수 있는 여러가지 위젯들이 존재합니다. 여기서 사용하는 Row/Column 위젯도 이들 중 하나입니다.
Column은 세로로 배치하는 위젯이고, Row는 가로로 배치하는 위젯입니다.
보통 CrossAxisAlignment와 MainAxisAlignment의 여러 속성들 (ex. start, end, center, spaceEvently, spaceBetween 등)을 활용하여 알맞은 간격을 조정합니다.
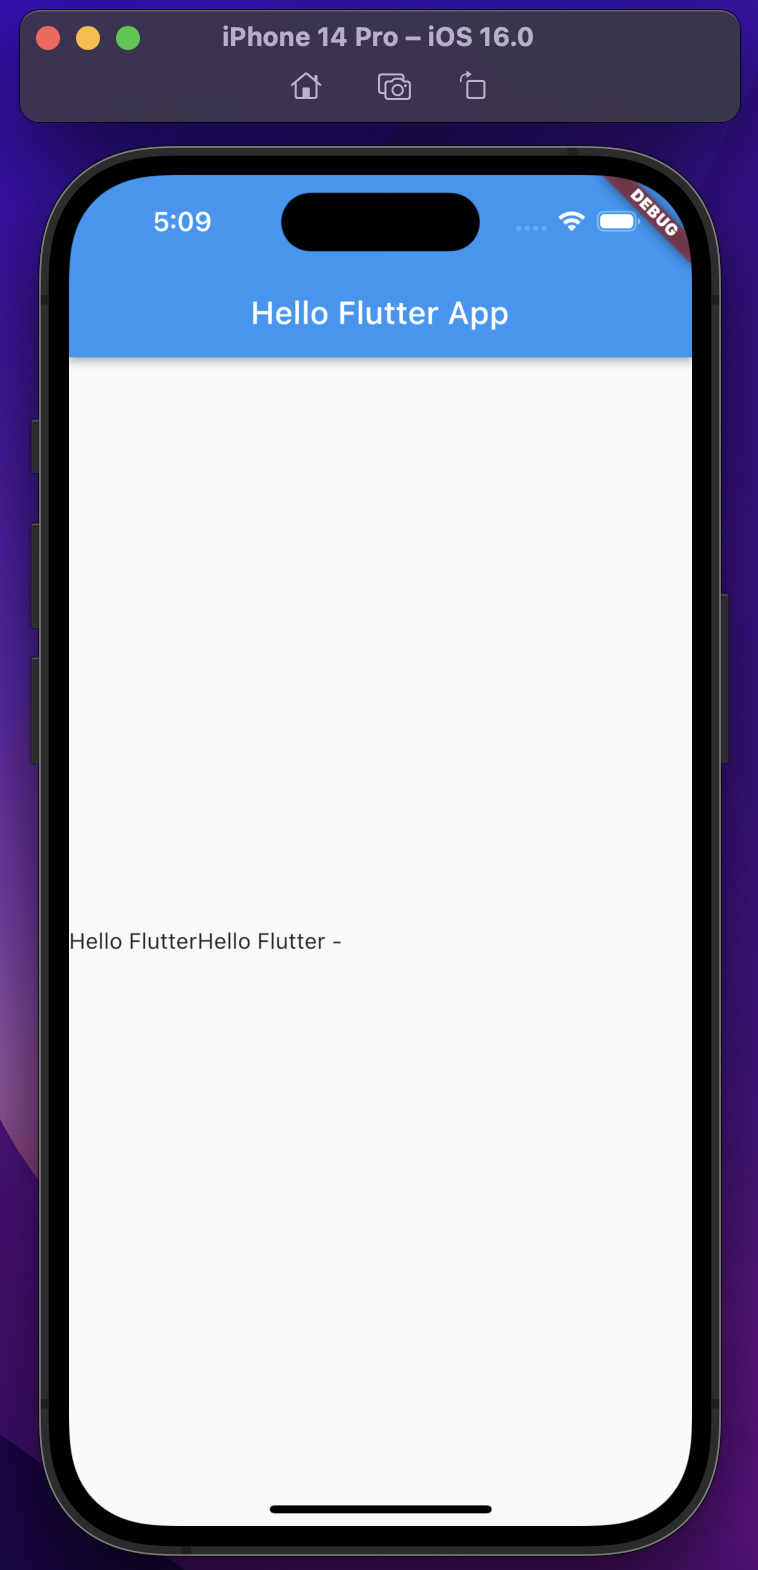
class MyApp extends StatelessWidget {
  @override
  Widget build(BuildContext ctxt) {
    return new MaterialApp(
      title: "MySampleApplication",
      home: new Scaffold(
        appBar: new AppBar(
          title: new Text("Hello Flutter App"),
        ),
        body: new Center(
          child: new Row(
            children: <Widget>[
              new Text("Hello Flutter"),
              new Text("Hello Flutter - "),
            ],
          ),
        ),
      )
    );
  }
}
'개발 > Flutter' 카테고리의 다른 글
| Flutter 다섯 번째 강의 내용 (0) | 2022.10.27 |
|---|---|
| Flutter 네 번째 강의 내용 (0) | 2022.10.24 |
| Flutter 세 번째 강의 내용 (0) | 2022.10.21 |
| Flutter 두 번째 강의 내용 (0) | 2022.10.20 |
| Flutter 환경 구성 및 설치 (2) | 2022.10.14 |